Keeping plastic out of the Great Lakes.
Our mission is to keep plastic waste out of nature: the Great Lakes, the ocean and the places wildlife live. We turn it into things people buy, from 3D printing filament to new products, here in Greenville, Michigan.
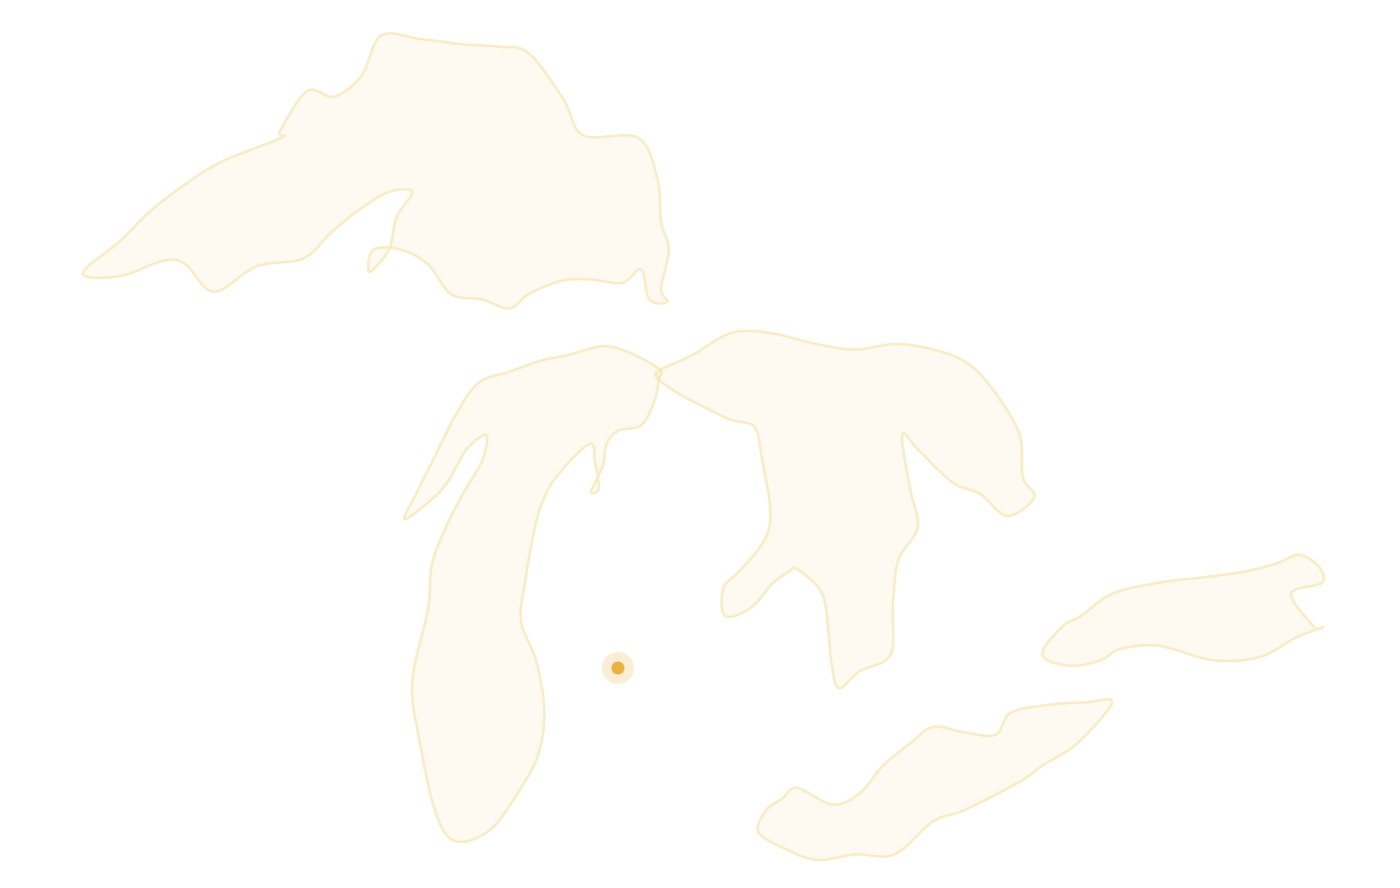
Keep 5,000 lbs of plastic out of landfills a year.
Every order helps move this number. The goal year runs September 1 to August 31 and starts over every September. Here is where it stands, and the phases that get us there.
Counted from our collection log as each batch is processed.
Three phases to a working recycling setup.
Each phase builds on the one before it, from the machines that turn scrap and 3D printer waste into filament to new products.
A plastic shredder and extruder
Phase 1 · In progressBuilding a plastic shredder and a filament extruder to turn scrap and 3D printer waste (PETG, ABS and PLA) into 3D printing filament for the products we make.
75% done5,000 lbs of waste kept out of landfills a year
Phase 3 · The targetOnce the recycling setup is running, the goal is to keep 5,000 lbs of plastic out of landfills a year and turn it into new products, from 3D printing filament to custom parts.
The goal once the first two phases are runningFrom scrap to a new product.
One piece of plastic goes through every step and comes out as something new. The drawing below follows it, with the shredder and extruder we are building now and the machines that come later.
Motion is paused with the switch in the footer. Turn it back on to watch this play.
Solid = with the shredder and extruder we are building.Dashed = later.
Sort
We check the number on each piece and sort by type, then by color. Caps and labels come off, since they are usually a different plastic. Anything unknown or marked #3 is set aside and never melted.
Wash and dry
Sorted plastic is washed in warm, soapy water and rinsed. Food, oil or soap left behind would smoke when melted and clog the machines. Then it dries all the way, because damp plastic makes bubbles and weak parts.
Shred
The shredder cuts the clean plastic into small flakes. We run one type and one color at a time and clean the blades between runs, so nothing gets mixed. The flakes are bagged and labeled until there is enough for a melt.
Clean flakes
Sorted, washed flakes are a material in their own right. Kept pure by type and color, they can be melted here or used by other small workshops and makers.
Melt
The extruder heats the flakes until they melt, never hotter than needed, and a screw pushes the plastic out as a steady line. That line can be wound into 3D printer filament or run into a mold to make a solid beam. Flat sheets come with a later machine.
Filament for 3D printing
The extruder pushes out a thin line that is cooled, measured and wound onto a spool. We are working on turning 3D printer waste back into filament for our own printers, so our products start from plastic that was headed for the trash.
Beams
The same extruder can fill a long mold and make a solid plastic beam. Beams can be cut, drilled and screwed together like lumber, and become benches, shelving and shop fixtures.
Marbled color
Mixed colors do not blend the same way in every machine. Extruding blends them and the dark colors win. Molding leaves swirls, so no two pieces match. We sort flakes by color so a product can be one solid color or marbled on purpose.
Molded objects
A small injection machine melts flakes and presses them into a metal mold: carabiners, tiles, phone cases and other small parts in batches. That machine is not built yet. It comes after the shredder and extruder are running. See how molding works.
Sheets and tiles
A heated press turns a layer of flakes into a flat sheet that can be cut like plywood, for tabletops, panels, wall art and tiles. The press is a bigger machine than the ones we are building now, so sheets are a later step.
Print or mold
Filament goes onto a spool and into our 3D printers, which make our products, custom pieces and branded items. Beams can be cut and joined into benches, shelving and shop fixtures. Injection molding, for small parts in batches, comes later with the next machines.
Finish
Printed parts have their supports removed and their edges cleaned up. Beams are trimmed and sanded. Every scrap from this step goes into a labeled bin so it gets shredded again instead of thrown out.
How injection molding works.
Motion is paused with the switch in the footer. Turn it back on to watch this play.
This is how the machine works. Ours will come after the shredder and extruder.
Fill
Clean flakes go into the hopper, one plastic and one color at a time. They drop into the barrel below the plunger. Mixed plastics do not melt together well, so the sorting from the earlier steps matters here too. Ours will take clean flakes from the shredder once both machines are built.
Heat
Heater bands around the barrel warm up and the flakes soften into a thick melt. The barrel is kept only as hot as that plastic needs, since too much heat burns it and makes fumes. A hood over the machine pulls those fumes away.
Clamp
The mold is a pair of metal blocks with the shape of the part cut into them. They close under the nozzle and lock, so the melt cannot push them apart. A mold can be machined, cast or printed.
Inject
Pulling the lever down pushes the plunger into the barrel. The melt squeezes out the nozzle, through a small gate, and fills the shape inside the mold. The lever stays down for a moment so the part fills out all the way.
Cool and open
The plastic sets as it cools against the metal. Then the mold opens and the solid part comes out, with a small stub where the melt went in.
Trim and repeat
The stub gets snipped off and goes in the scrap bin, so it gets shredded again. The part goes on the shelf with the others. The mold is ready for the next shot, and every part comes out the same. That is what molding is for: the same small part, many times, from one mold. Carabiners, tiles, phone stands and small branded items suit it.
The recycling numbers, 1 to 7.
Most plastic has a number inside a triangle of arrows, usually on the bottom. The number tells you what the plastic is and how it can be recycled. Programs differ from town to town, so check what yours takes.
#1 PET or PETE
Polyethylene terephthalateWater and soda bottles, peanut butter jars, clear food trays.
Usually taken curbsideEmpty it, rinse it and let it dry.
In our shop: Hard at small scale. It shrinks a lot, breaks down with heat and needs careful drying, so the clear bottles we collect are kept apart until we have a process that works for them.
#2 HDPE
High-density polyethyleneMilk jugs, detergent and shampoo bottles, buckets.
Usually taken curbsideEmpty and rinse. One of the easiest plastics to recycle.
In our shop: Easy. It melts at a low temperature, molds well and needs no drying, which is why milk jugs and detergent bottles are a good place to start.
#3 PVC or V
Polyvinyl chloridePipe, vinyl siding, garden hose, some clear packaging.
Rarely takenAsk your local program or a building-supply recycler. Never burn it: the smoke is toxic.
In our shop: Refused. Heating it releases chlorine compounds and burning it makes dioxins, so it never comes into the shop.
#4 LDPE
Low-density polyethyleneGrocery and bread bags, plastic wrap, squeeze bottles.
Not curbside in most placesTake clean, dry bags and wrap to a store drop-off bin.
In our shop: Workable but awkward. Bags and wrap are too thin to shred well, so film is set aside and firm #4 pieces like squeeze bottles go through.
#5 PP
PolypropyleneYogurt tubs, bottle caps, takeout containers, car bumpers and battery cases.
Taken curbside in many placesRinse it. Bottle caps are often #5 too.
In our shop: Easy. It is strong, takes more heat than #2 and works well in every machine we are building, so tubs and caps are welcome.
#6 PS
PolystyreneFoam cups and packing foam, plastic cutlery, CD cases.
Rarely takenAvoid it when you can. Some drop-off sites take clean foam blocks.
In our shop: Hard. It melts fine but gives off about 5 to 7 times more fumes than #2 or #5, so we do not take it.
#7 Other
Everything elsePolycarbonate, acrylic, nylon, and the 3D printing plastics ABS, PLA and often PETG.
Rarely taken curbsideThis is where 3D printer waste belongs. Keep each type apart: that’s the waste we want.
In our shop: Hit or miss. Labeled 3D printer waste in PLA, PETG or ABS is workable. Polycarbonate from CDs and DVDs is refused for its fumes, and anything unmarked is treated as unknown and not melted.
Molded parts
Letters between two arrowsMolded parts are often marked with the plastic’s letters, like >PP<, >ABS< or >PA6<.
Sorted by those lettersSame idea as the numbers: it names the plastic, so the part can be sorted and reused.
Six steps to recycling plastic the right way.
Find the number
Look for the triangle of arrows, usually on the bottom, or letters like >PP< molded into a part.
Empty, rinse and dry
Food and liquid left inside can spoil a whole load. A quick rinse is enough.
Take off labels and caps
Caps and labels are often a different plastic. Recycle them on their own if your program takes them.
Sort by number
Different plastics can’t be melted together, so keep each type apart.
Check what your town takes
Your city or county lists what goes in the bin and what goes to a drop-off.
Never burn or melt it at home
Burning plastic, especially #3 PVC and #6 PS, gives off toxic smoke.
Saving your 3D printer waste for us.
Keep each plastic apart
PLA, PETG and ABS in separate bags. Mixed plastic can’t be turned into new filament.
Keep it clean
No tape, glue, paint or metal inserts. Supports, purges and failed prints are all welcome.
Label the bag
Write the plastic and, if you know it, the color. Then ask us about dropping it off.